Building a Budget
Kuali Research Quick Start Guide: Building a Detailed Budget
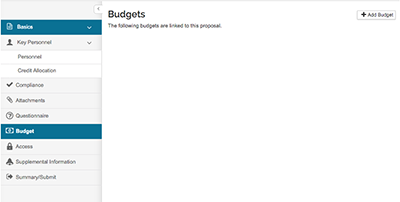
Step 1: Click on the Budget panel on the left.
- Click the +Add Budget button.
Step 2: Add a Budget Name
- Click the Start a detailed budget radio button.
- Click ‘Create Budget.’

*A detailed budget is required for all proposals.
On the Project Personnel panel, project personnel are listed.
These are the PI and CoI’s entered in the Key Personnel section of the proposal.

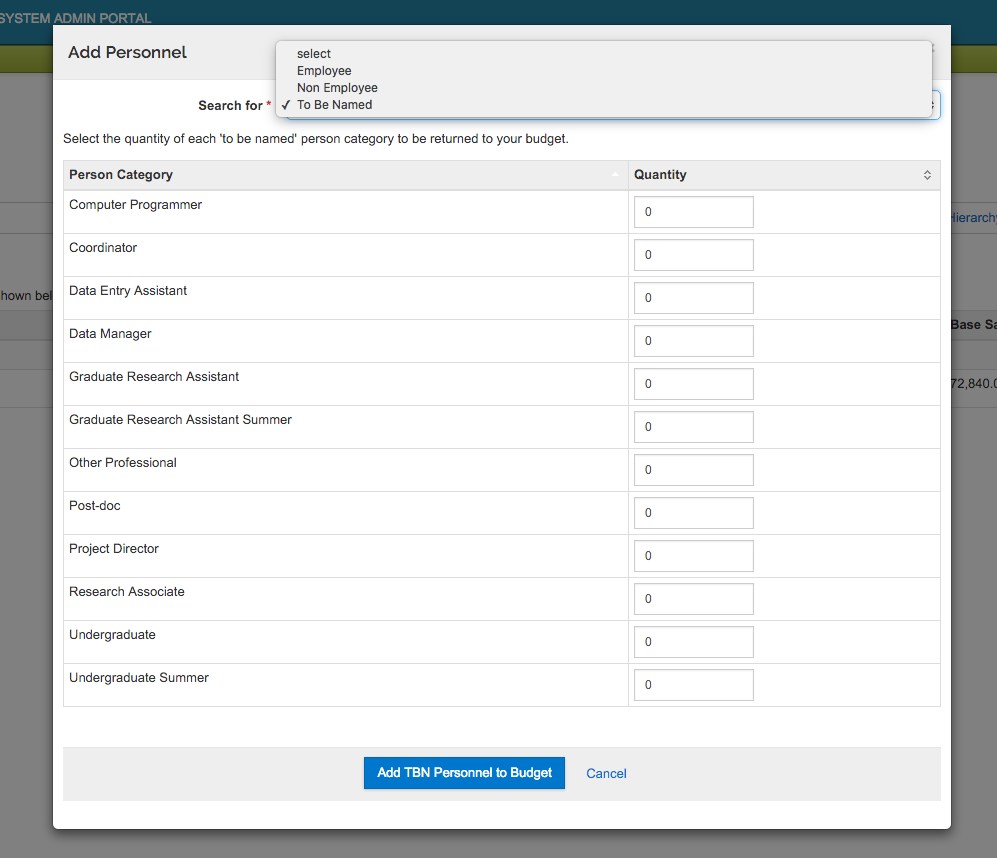
Step 3: Use the Add Personnel search screen to add other personnel not listed.
- Search for an employee, or choose ‘To Be Named’ to add Post-doc, Graduate Research Assistants or other personnel.
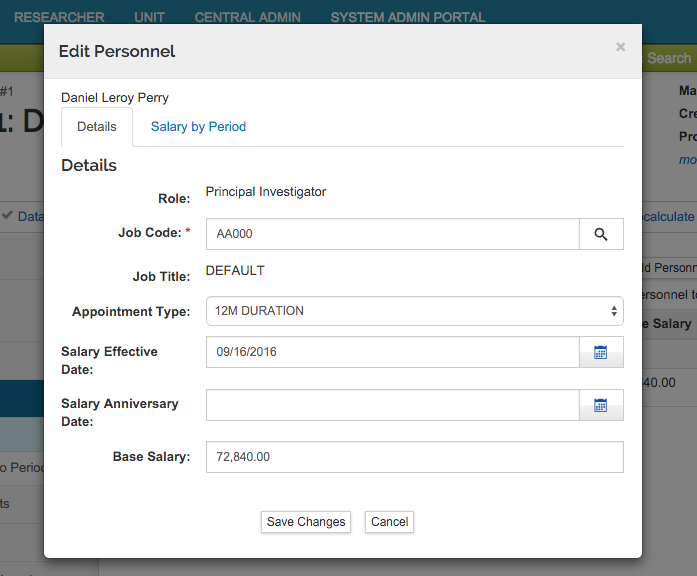
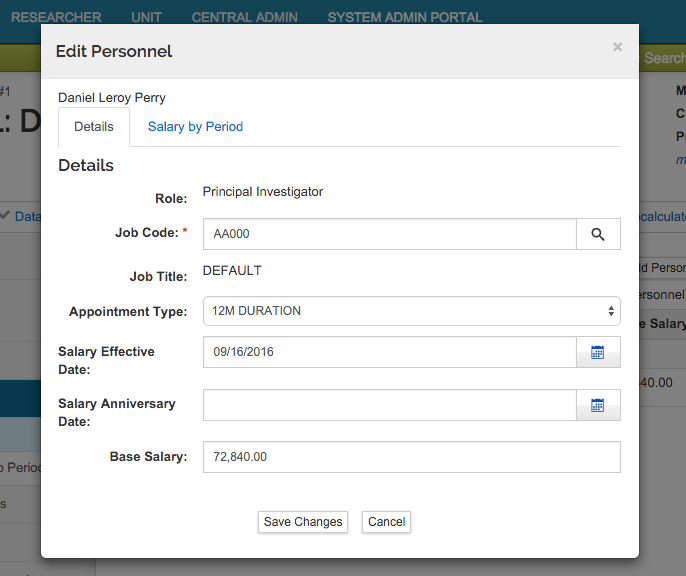
Step 4: Use the Details button to add data specific to the person.
- Verify appointment type and base salary information for each person listed.
If changes need to be made, do so here.
Then click ‘Save and Continue’
Note* Salary Effective date and salary anniversary dates are used when this salary is available and when inflation is to be added. Most of the time, leaving this as is will work for the budget.
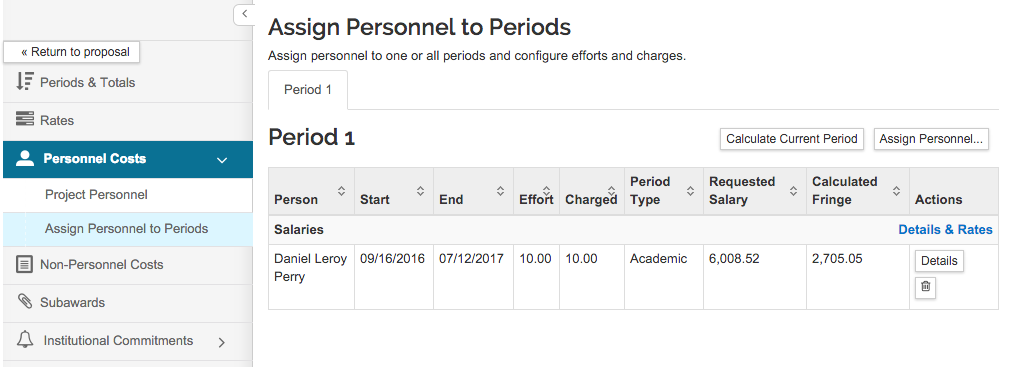
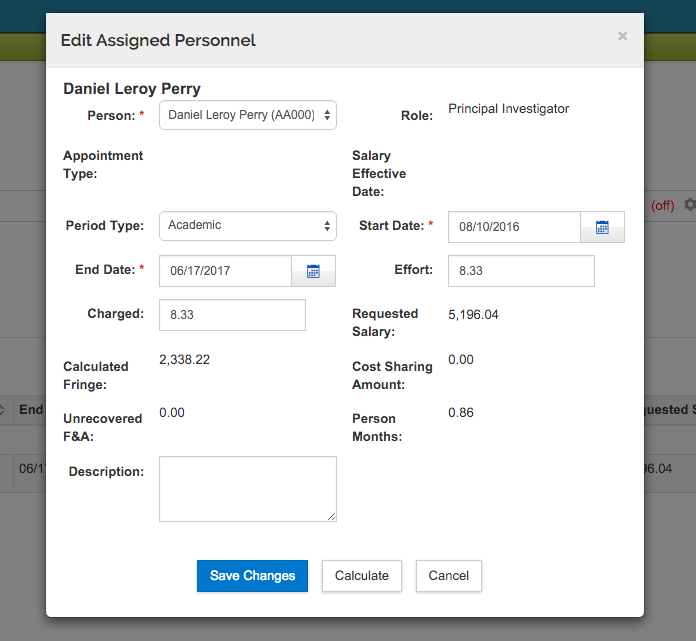
Step 5: Click on Assign Personnel to Period.
a: Choose the person.
b: Enter the object code.
c: Enter the start and end dates, this should be the period 1 budget period.
d: Enter the effort percent.
i.e.:
8.33% = 1 month when the period is a full year
33.33% = 1 month when the period is 3 months
1/ number of full months in budget period = 1 person month
e: Charged % (percent of effort the grant will pay for, the balance of effort will be considered salary cost share.
f: Enter the period type: This should correspond with the type reported in current & pending reports.
g: Click Assign to period 1.
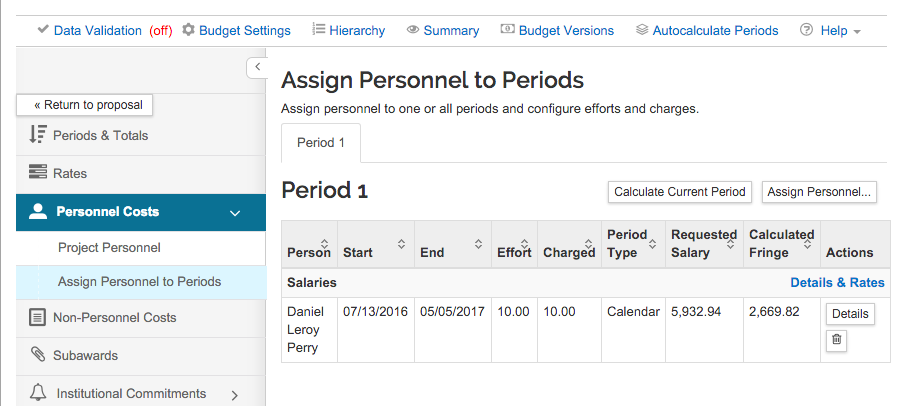
Step 6: Verify and Save each new person.
a: Check that this table correctly reflects: person, period type, start and end date, bugdet period, requisted salary, fringe and person months.
b: If you need to make adjustments to salary or effort, do so here. Click ‘calculate’ to see changes.
c: ‘Save Changes.’
Repeat steps 6 & 7 for each person.
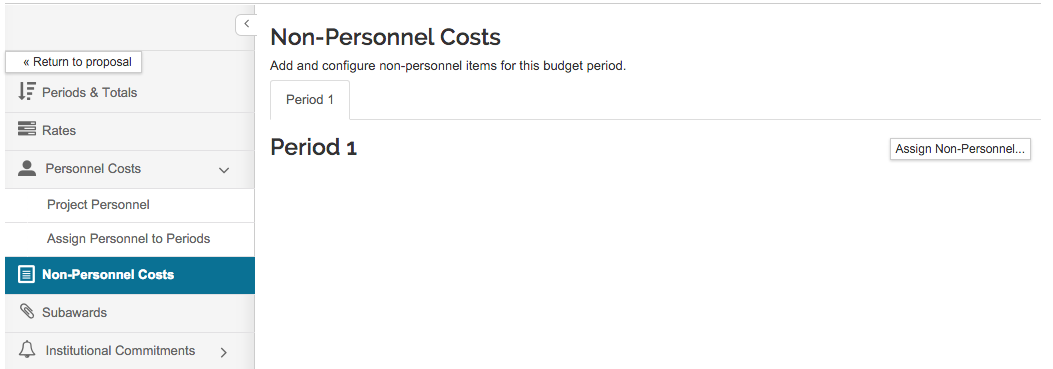
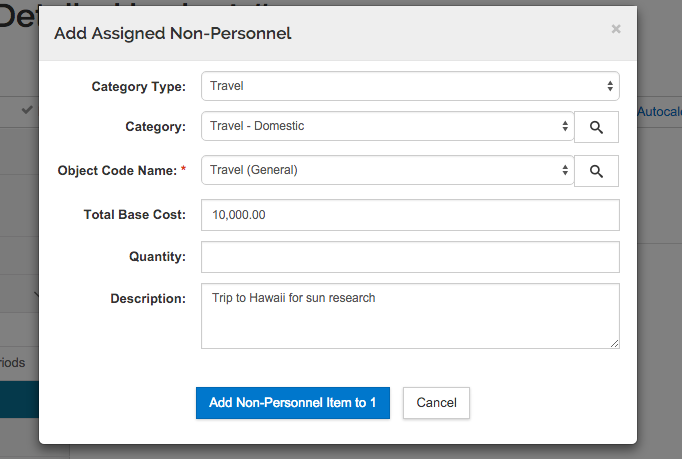
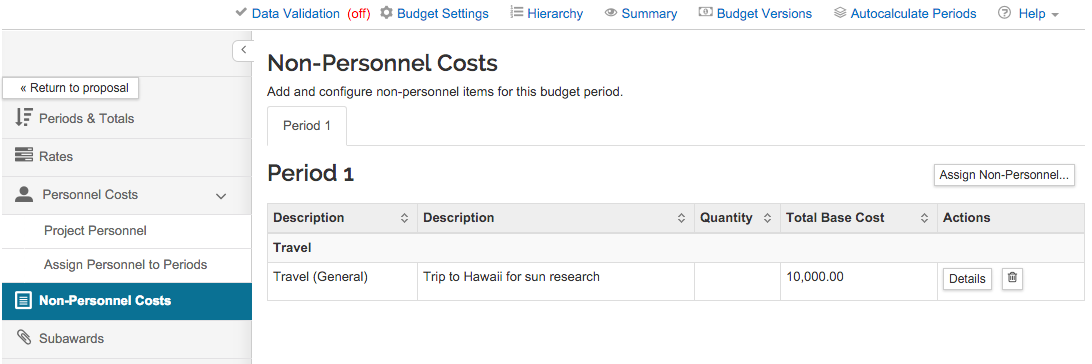
Step 7: select the Non-Personnel Costs panel on the left,
- then click the Assign Non-Personnel button.
Step 8: Add information to categories on the pop-up screen.
Click Add Non-Personnel Item to 1 to return to the Non-Personnel Costs screen.
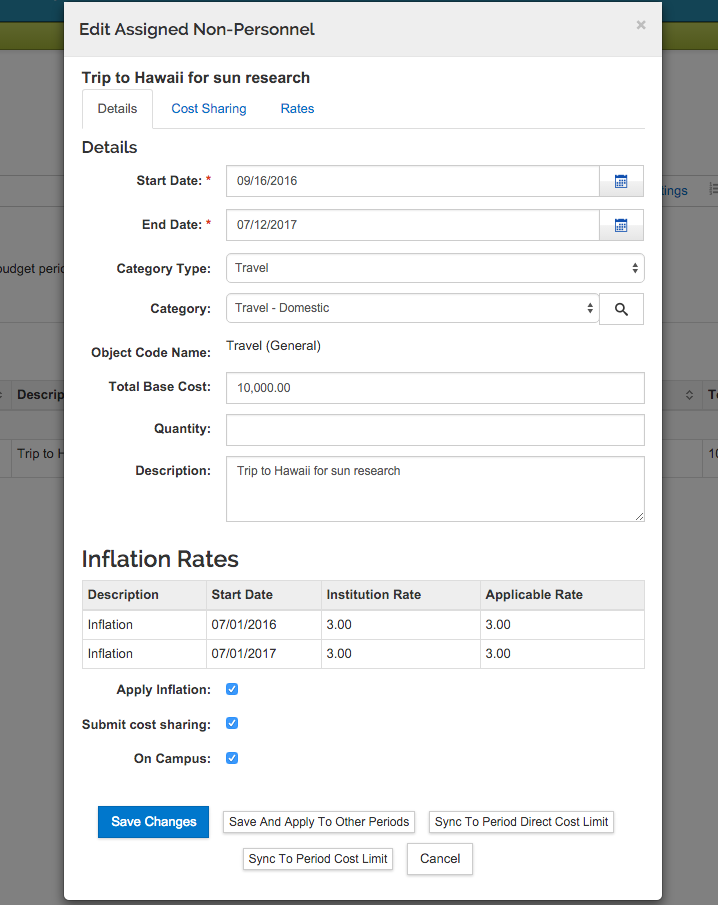
Step 9: Click the 'Details' button on the right.
Make any changes to the Details, such as Cost Sharing and Rates, using the links at the top of the pop-up screen.
Click Save Changes to return to the Non-Personnel Costs screen.
Repeat steps 5-9 for each budget period or click the 'Autocalculate Periods' button in the top menu to copy all of Period 1 budget lines forward to all future periods.
*Note that the Autocalculate function is not available data have been manually entered data in any future periods.
The intitutional standard inflation rate of 3% will be applied to all future periods.
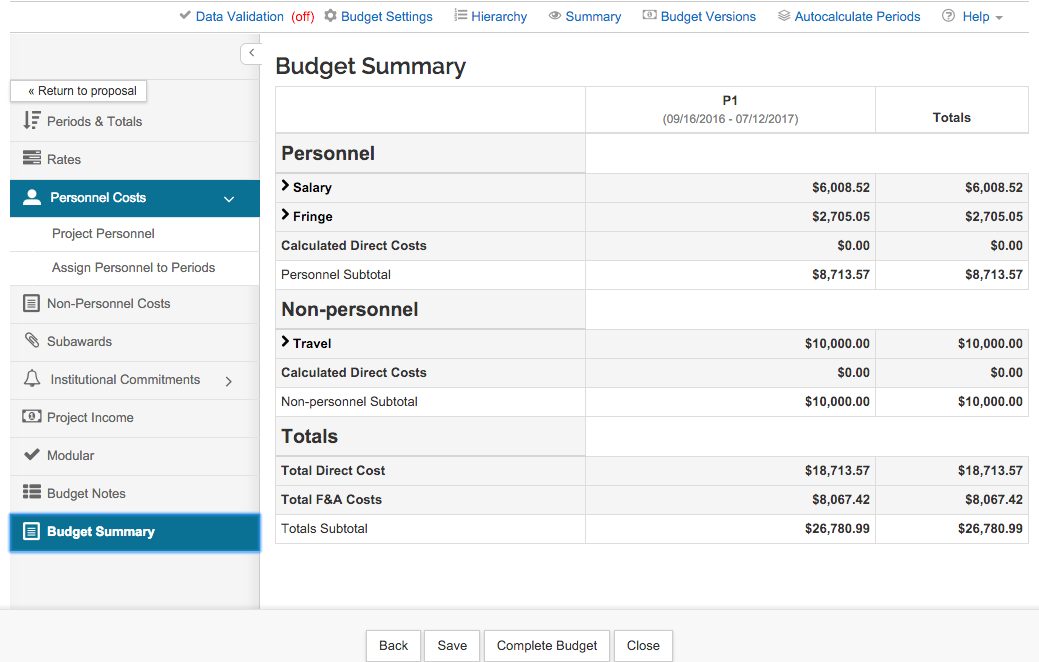
Step 10: Click the 'Budget Summary' panel and review budget, then click 'Complete Budget.'
Step 11: Click the 'Return to Proposal' button on the left.
CONGRATULATIONS!
Your budget is complete and your proposal submitted into routing.